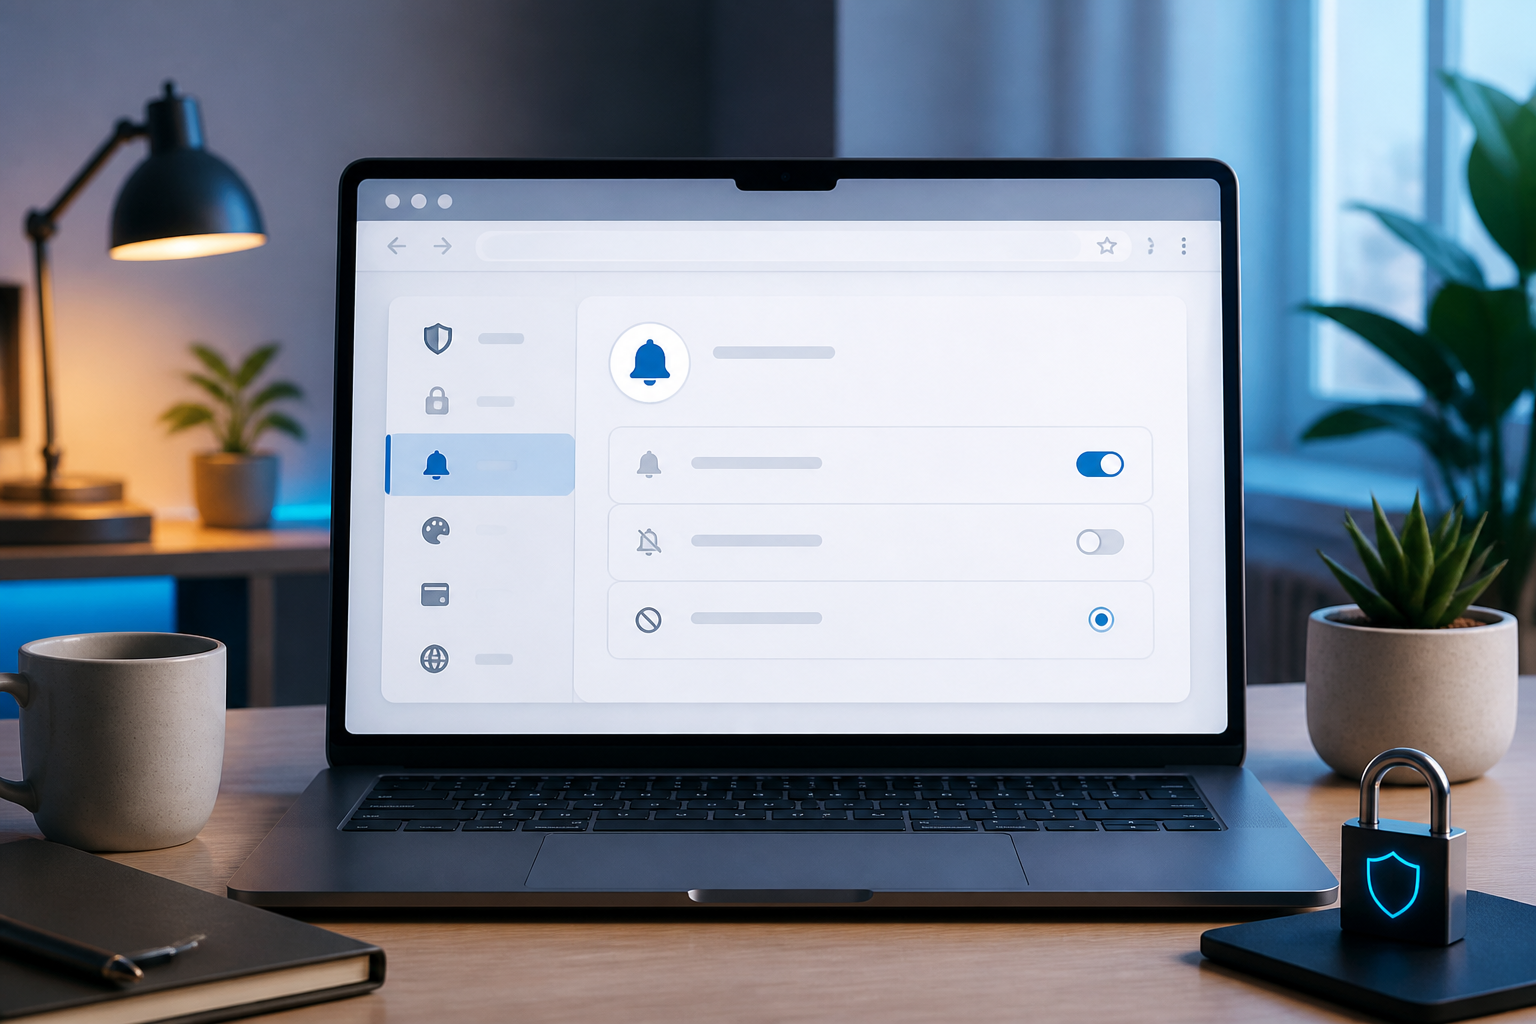
Browser notifications often seem trivial: a pop-up appears in the corner of the screen and then disappears a few seconds later. The problem is that many sites request permission to send notifications before we truly understand their benefits. If all requests are accepted, the screen can be filled with promotions, unread news, or fake alerts that direct us to harmful sites.
Browser notifications are messages sent by sites through the browser, even when the site's tab is not open. This feature is useful for services like email, calendars, work applications, or server dashboards. However, permissions should be treated like app access on a phone: granted only when necessary and revocable at any time.
Why should browser notifications be checked?
The main risk is not just the feeling of being disturbed. Sites that have permission can send messages to your device as long as that permission is active. On untrustworthy sites, notifications can be used to display aggressive ads, misleading headlines, or links disguised as security alerts.
Notifications can also disrupt concentration. One message may not feel intrusive, but dozens of promotional notifications in a day can make us constantly check the screen. In a work context, small, repeated distractions are often more damaging than one obvious major disruption.
It’s important to understand that turning off notifications is not the same as blocking the site. You can still access the site normally. This change only regulates whether the site is allowed to actively send messages to your device.
How to view sites with notification permissions
The menu names may vary slightly between Chrome, Edge, Firefox, and other browsers, but the logic is almost the same. Look for the privacy settings or site permissions section, then open the Notifications menu.
- Open the browser settings.
- Go to the privacy and security section.
- Select site settings or site permissions.
- Open the notifications menu.
- Check the list of allowed and blocked sites.
In that list, there are usually three options: sites allowed to send notifications, sites not allowed, and default settings for new requests. The first focus should be on the list of allowed sites. Don’t just look at the site names; check the full domain address because familiar-looking names can use spoofed domains.
Remove permissions for sites no longer in use
If you don’t recognize a site, no longer use it, or don’t remember granting permission, remove its access. Most browsers provide a delete button, reset permissions, or block option next to the site name.
For services that are still in use but have too many notifications, you don’t have to block the entire site immediately. If available, use more selective options, such as allowing only certain notifications or turning off sounds. In some services, notification settings are also available within the user account so that the type of messages can be selected from the source.
For example, a work calendar may still be allowed to send meeting reminders, but social activity notifications can be turned off. This approach is better than turning off all notifications and missing out on truly important information.
Stop constant notification requests
If you frequently see a dialog box asking for notification permission, change the browser's default settings so that sites cannot freely display those requests. Common options include blocking all new requests or making the browser display requests in a quieter manner.
This setting is suitable for users who rarely need web notifications. When you do need notifications from a specific service, permission can still be granted manually for that site.
It’s important to distinguish between rejecting a request and allowing all requests. Rejecting one request usually only applies to that site or a specific session, depending on the browser. Meanwhile, changing global settings affects subsequent sites. Therefore, read the menu names carefully before saving changes.
If notifications contain virus warnings or fake prizes
Notifications with phrases like “your computer is infected,” “account will be closed today,” or “you won a prize” should be considered suspicious. Do not click on the link just because the message seems urgent. Close the notification, open the browser settings, and revoke the permissions for the sending site.
If you have already clicked the link, do not immediately enter your password or card details. Close the page, run a security check on your device, and check for any downloads or new browser extensions that you do not recognize.
Browser notifications themselves usually cannot install malware automatically just because they appear. However, those messages can be used to encourage users to click links, download files, or enter sensitive information. Thus, the source of risk often lies in subsequent actions, not just the appearance of the notification.
Practical settings you can do now
- Remove notification permissions from sites that are no longer in use.
- Block new notification requests if you rarely use that feature.
- Keep notifications only for email, calendars, work applications, or services that are truly important.
- Turn off sounds and pop-ups for services that only provide light updates.
- Do not trust messages that request antivirus installation, payment, or urgent logins.
- Check the domain address before opening links from notifications.
- Review the browser permission list every few months.
What does this mean for us?
Notifications are not a feature that should be turned off entirely. What’s more important is to reduce the number of parties that can contact us without being asked. By leaving permissions for services that are genuinely useful, the browser becomes quieter and more trustworthy.
The simple principle is the same as managing app access: grant permissions as needed, review periodically, and revoke access when the benefits are no longer clear. A few minutes spent tidying up notification settings can reduce daily distractions and make us more alert to messages that are deliberately designed to provoke panic.
– Rio Yotto @rioyotto