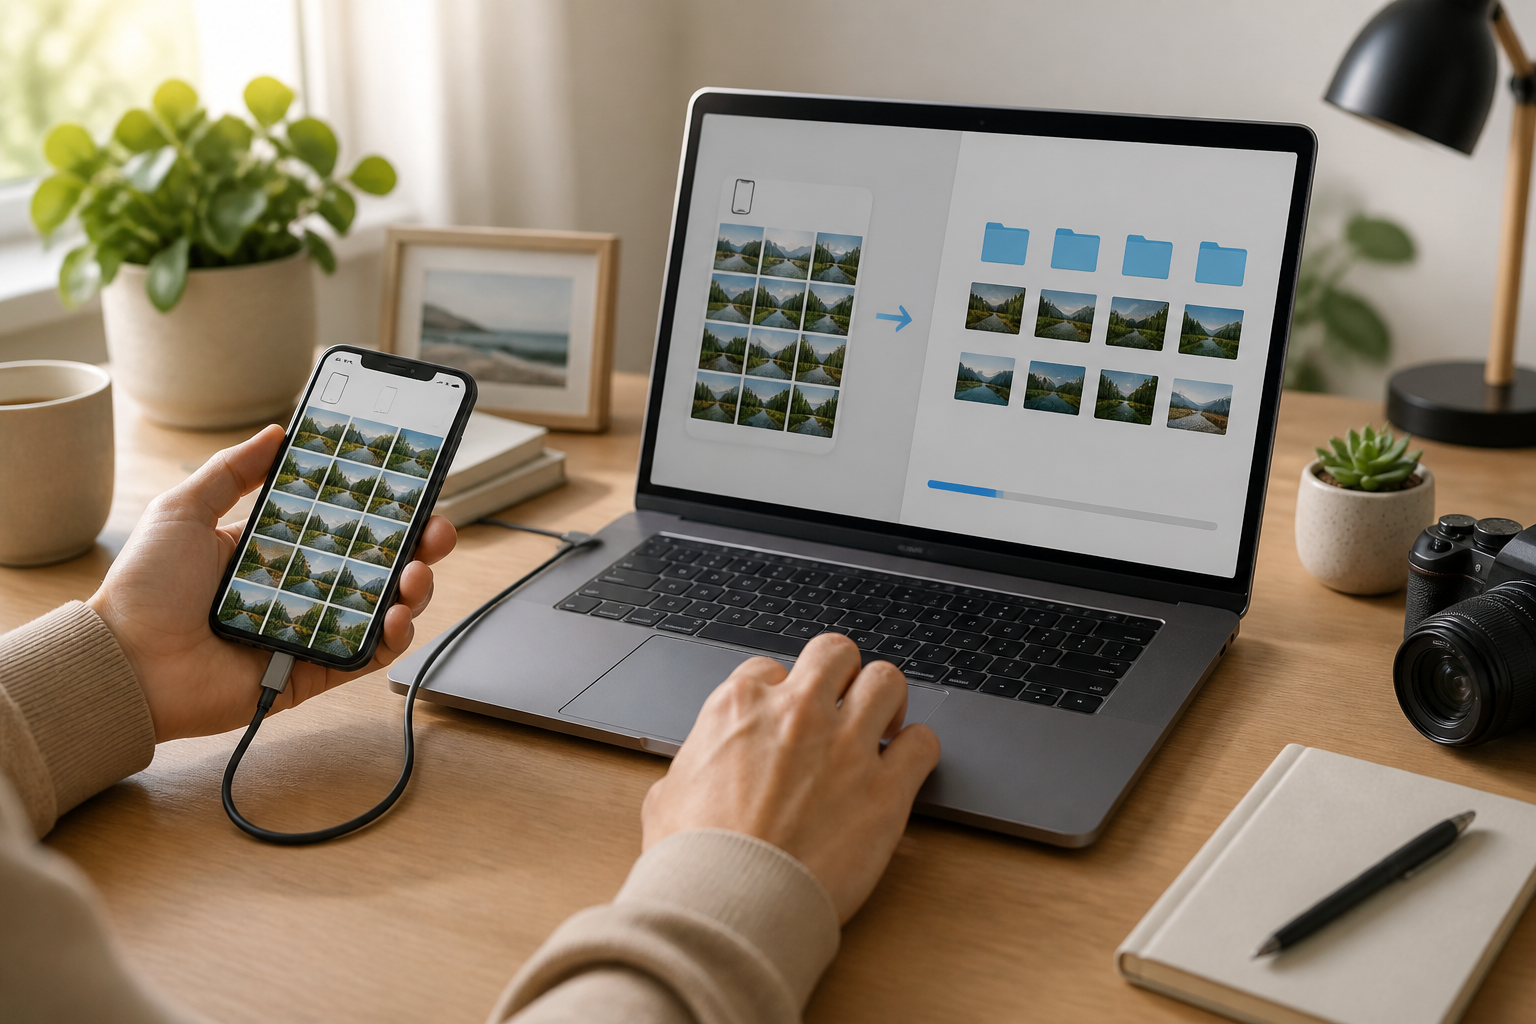
Transferring photos from your phone to your laptop is important not only to prevent your phone's storage from filling up quickly. Photos on a laptop are also easier to view on a larger screen, back up, edit, or send for work and family purposes.
The good news is that you don't need to understand technical terms to do it. Choose the method that best suits your situation: using a cable, cloud service, messaging app, or wireless connection.
1. Using a USB Cable: The Most Direct Method
If you want to transfer many photos at once, a USB cable is usually the most stable option. The cable used is generally the phone charger cable, as long as it also supports data transfer.
Steps
- Connect your phone to the laptop using a USB cable.
- Unlock your phone's screen.
- If a choice appears on your phone, select Transfer file or File transfer mode. Do not select just charging mode.
- On the laptop, open File Explorer or file manager.
- Look for your phone's name in the list of devices.
- Open the internal storage folder, then find the
DCIMfolder. Camera photos are usually located in theCamerafolder. - Select the photos you want to transfer, then copy them to a folder on the laptop.
The DCIM folder is a common folder for photos and videos from the phone's camera. However, photos from other apps may be in different folders, such as specific app folders or download folders.
Practical Note: use the copy command first, not cut. This way, the original photos remain on your phone until you ensure that the copies have been successfully opened on the laptop.
2. Using Cloud Services: Convenient Without Cables
Cloud services are online storage that can be accessed from multiple devices. Examples include photo or file storage services that are already linked to your account.
This method is suitable if a cable is not available or if you want to access photos from a different laptop. However, the process requires an internet connection and online storage space.
Simple Workflow
- Open the photo or file storage app on your phone.
- Select the photos you want to back up or upload.
- Wait until the upload process is complete. Large photos may take longer.
- Open the same service on your laptop using the same account.
- Select the photos, then download them to the laptop.
Before deleting photos from your phone, make sure the photos are truly available on the laptop. Do not rely solely on icons or brief notifications. Try opening several photos directly to ensure the files can be used.
Keep in mind, cloud storage does not mean files are automatically safe forever. Accounts must still be protected with a strong password and additional verification if available.
3. Sending Photos via Messaging Apps
For one or two photos, sending them to your own account via a messaging app can feel the easiest. You can then open the app on your laptop and download the photos.
However, this method has drawbacks. Some messaging apps may automatically reduce the size of photos for faster sending. As a result, photo quality may decrease.
If quality is important, look for options like send as document or send file, rather than just sending as a regular photo. This way, the files are usually sent in their original form.
This method is more suitable for quick needs, not for transferring hundreds of photos. Too many files can make conversations hard to search and fill up the app's storage space.
4. Using Direct Wireless Connection
Some phones and laptops support file transfer via wireless connection. The methods can use Bluetooth, device sharing features, or file transfer apps.
The advantage is that no cables are needed. The downside is that transferring large files can be slower, and the connection steps may vary on each device.
Things to Check
- Ensure Bluetooth or sharing features are active on both devices.
- Make sure the phone and laptop can see each other or are paired.
- Accept the transfer request only if the device name is correct.
- Do not send files through public devices you do not recognize.
For a few small photos, this method is quite convenient. For long videos or hundreds of photos, a USB cable usually makes more sense.
How to Choose the Right Method?
- Many photos: choose USB cable.
- No cable available: use cloud or wireless connection.
- Only one or two photos: messaging app can be a quick option.
- Photo quality must remain original: use cable, cloud, or send as file.
- Limited internet: avoid cloud and choose cable.
This is not about which method is the most sophisticated. The best method is the one that minimizes the risk of losing photos or accidentally deleting files.
After Successfully Transferring Photos, Do a Check
A common mistake is assuming the process is complete just because the transfer bar is no longer visible. Before deleting photos from your phone, perform three simple checks:
- Open several photos randomly on the laptop.
- Check if the number of transferred files is correct.
- See if the photos can be opened without error messages.
If the photos are very important, keep at least two copies: one on the laptop and another on storage media or cloud service. This does not mean you have to buy expensive devices. The goal is to ensure that damage to one device does not immediately erase all memories.
What Does This Mean for Us?
Transferring photos is essentially just copying files from one place to another. You don't need to be afraid of terms like folder, cloud, or data transfer. The important thing is to understand three things: where the photos are, where they will be transferred to, and whether the copies are correct.
Start with a small folder, such as photos from this month. Once successful, you will find it easier to transfer other albums. Do not delete the original photos until you are sure that the copies are safe and can be opened.
– Rio Yotto @rioyotto